Welcome Kindergarten Art!!!!
Kindergarten classes are enjoying art instruction for the first time!!!! In their first class students reviewed the rules:
1. Always follow directions.
2. Respect everyone and everything.
3. Try your best!!
We also learned to listen like "Mona Lisa" artists. We looked at the painting The Mona Lisa by Leonardo da Vinci. When I say, "Mona," the students reply, "Lisa!!!" Then we look and listen like Mona Lisa artists.

Students put their eyes on Mrs. Wine. (Just like the Mona Lisa is looking at them!)
Students show a quiet smile with their mouths. (They are quiet and not talking.)
Students fold their hands and hold them still.
Click the image of Mona Lisa to get a copy of a Mona Lisa picture your student can print and color. They may color it realistically or with imaginative colors.
If you want to practice art with your child at home, please encourage them to practice neat coloring. The poster below is what I use in class to help the students see the steps to coloring neatly.

The Element of Line

LEARNING ABOUT LINES:
1. Listen to the books we will read together in class:

2. Watch this YouTube video with a song about lines:
3. Review this chart from the art classroom. Help your artist name the lines they see. Ask them to practice drawing the lines in the air with their finger like we did in class.

4 Play a Game: Borrow a dice from a board game and play the Roll-a-Line Game using this game board. You can play alone or with a family member. You can each draw on your own paper or draw on the same paper. Watch the YouTube video I created for a quick demonstration.

3. Play the Roll-a-Line game again using the game board below.

In Class Activities:
Students will have the opportunity to participate in four line activities: drawing, cutting and gluing, sculpting, and painting. If they need extra practice at home, here are some resources:
Drawing: Students will practice naming, tracing, and drawing "Famous Lines" Print the sheet from this link so your child can practice drawing "Famous Lines" on their own at home. Students will use a special "line dice" to draw a line design using crayons.
All kindergarten students will begin their unit of art study by learning about the elements of line. These beginning concepts help students understand how art is made by everyone from children to professional artists. It also helps give students a vocabulary they can use to describe the art they see in the world around them.
Students will have the opportunity to participate in four line activities: drawing, cutting and gluing, sculpting, and painting. If they need extra practice at home, here are some resources:
Drawing: Students will practice naming, tracing, and drawing "Famous Lines" Print the sheet from this link so your child can practice drawing "Famous Lines" on their own at home. Students will use a special "line dice" to draw a line design using crayons.
Cutting: Students will learn how to hold scissors correctly. Students will practice cutting a variety of both short and long lines using different colored papers. Finally, students will take their cut lines and use glue stick to create a collage. If your child wants extra practice cutting lines, click the link below for a variety of practice sheets you can print and use at home.
Sculpting with Lines: Students will learn how to roll clay coils with clay. Students will practice laying coils on a laminated mat to create different coil lines. Then students will create a line sculpture with pipe cleaners to take home. You can help your child create their own coils at home using clay or play-doh. View the YouTube video link below to learn how to roll a clay coil.
Painting: Students will learn how artists use paintbrushes. For art class, we will learn three main ideas about brushes.
1. Never touch the bristles (or hair) of the brush.
2. If the paintbrush looks like a "scrub brush" give it a drink of water.
3. Give the brush a "nap on the napkin" (place it on the paper towel) when you are finished.
Students will create two line paintings using black tempera paints. (Paintings will be completed with color during our Color Unit.)
Students can practice painting different lines with watercolor or tempera paints at home.
The Element of Shape
The second unit for kindergarten is exploring the element of shape. Discuss what lines are used to draw different shapes and reviewed the names of basic geometric shapes. These beginning concepts help students understand how art is made by everyone from children to professional artists. It also helps give students a vocabulary they can use to describe the art they see in the world around them. Class discussions focused around the names of these basic geometric shapes and objects that have these shapes.
Students will have the opportunity to participate in four shape learning centers: drawing, cutting and gluing, sculpting, and building pictures with shapes.
Drawing: Students will practice naming, tracing, and drawing basic shapes. Then students practiced coloring the shapes in neatly. In art class we focus on three steps to coloring neatly: outlining the shape first, coloring in one direction, and covering all the "peek-a-boo" spaces. Print the sheets from this link so your child can practice drawing "Famous Lines" on their own at home.
Listen to this story and see how shapes can be put together to make pictures. Draw your own picture by putting different geometric shapes together. Color the picture neatly. If you need to hear directions and see some examples watch this presentation.
Cutting: Students will learn how to hold scissors correctly. Students will practice cutting a variety of geometric shapes using different colored papers. Finally, students will take their cut shapes and use glue stick to create a collage. If your child wants extra practice cutting lines, click the link below for a variety of practice sheets you can print and use at home.
Sculpting with Shapes: Students learned how to roll clay coils with clay during the line unit. Students will practice laying coils on a laminated mat to create different coil shapes. Then students will add details to these basic shapes to match a shape picture on the mat. You can help your child create their own coils and clay objects at home using clay or play-doh. Talk about the shapes that you see as your child creates the clay object.
Guess My Picture: Students learn how to put shapes together to make pictures in the game "Guess My Picture." Students look at a card and then select shapes to build the picture. After some practice time, students work in teams to practice building and then guessing each other's pictures. This is a great family game for children ages 4 and up.

At Home: You can reinforce what students are learning at home by looking for shapes in the world around you. This book will give some ideas for your and your child to discuss.
The Element of Color

The third unit we are studying in kindergarten is exploring the element of color. Students discussed what colors they already know by name. These beginning concepts help students understand how art is made by everyone from children to professional artists. It also helps give students a vocabulary they can use to describe the art they see in the world around them. Class discussions focused around the primary colors, how primaries can mixed together to create secondary colors, and how objects are colored realistically and abstractly.
Students will have the opportunity to participate in four color learning centers: painting, color matching to color names, color wheel, and color/shape patterns.
Painting: Students will review painting procedures. They will learn how to rinse their brush between colors. Students will add color to their best line painting from unit one. They will begin with yellow and then move to darker colors. They will be encouraged to balance colors on their page as they paint. Finally, students may mix primary colors together to create secondary colors. Watch the video below that we viewed in class with your child to review what how primary colors are used to create secondary colors.
Color Matching to Color Names: Students will match like colors of craft sticks. Each different color of craft stick can be arranged to create a different shape. Students will work these shape puzzles to review geometric shapes from unit two. Then each student will select an "I Know My Colors" sheet. Students will read the color names with the help of a pre-colored crayon sheet that has the colors listed in a different order. Students will color each crayon neatly with the correct color. Finally, students will neatly color in the boy or girl on the sheet. When students color neatly they trace around the edges of each shape to help them stay inside the lines, color in one direction, and color all the "peek-a-boo" spaces. If your child would like extra coloring practice at home, you may print one of the sheets from this link.
Color Wheel: Students will each get a laminated color wheel and bag of pictures of different colors. Students will name the objects on each clip and name the color of the object. Then students will clip the object to the correct color on the color wheel. Then students will create their own color wheel. They will find magazine photos and pages with each primary and secondary color. Students will cut out a small piece of the color and glue it on the correct section of the color wheel by reading the color name. After finding one image of each color, students may add additional images as time permits. Students will observe that they can find many different reds, different blues, etc.
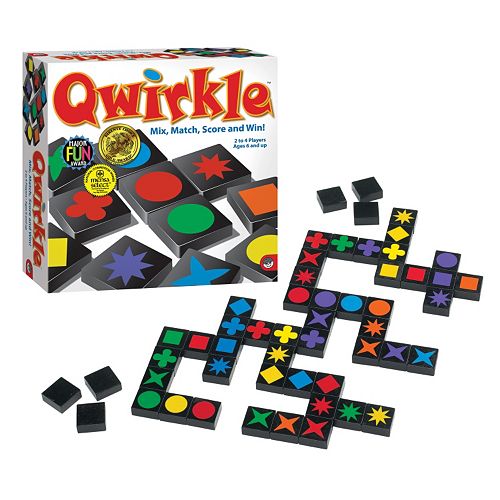
Quirkle: Students will begin by sorting the Quirkle tiles by color to check for color understanding. Then students will organize each tile color by shape to review shapes from unit two. After sorting tiles by color and shape, students will push them back into the center of the table and mix up the tiles. Each student will count out an equal number of tiles. The teacher will begin the game by playing one tile, and students will go around the circle taking turns to match tiles by color and/or shape. Students will tell their table partners how the tiles match as they play them. This is a great family game.
At Home: You can reinforce what students are learning at home by asking your child each week what they learned in art class. As you travel throughout the neighborhood, ask you child to describe what they see using words that describe different colors. Each student will choose a picture at the end of the unit to take home and color two ways. One side should be colored with realistic colors or by using the "correct color," and the other side should be colored abstractly with "crazy colors." Students should color neatly by outlining shapes to help them stay inside the lines, coloring in one direction, and by coloring all the "peek-a-boo" spaces. You may also read books with color themes to them. In class we read Pete the Cat: I Love My White Shoes and Color Dance. Here is a video read-aloud of Pete the Cat you can watch together at home.
Value, Texture, Form, and Space
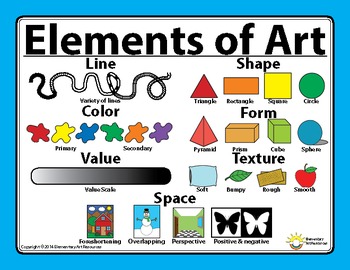
The fourth unit we are studying in kindergarten is exploring the final four elements of value, texture, form, and space. Each week of this unit will introduce students to a basic definition of the element and some element vocabulary. These beginning concepts help students understand how art is made by everyone from children to professional artists. It also helps give students a vocabulary they can use to describe the art they see in the world around them. After the whole class discussion, students will move to one of four centers to learn more about these four elements in depth.
Students will have the opportunity to participate in four art elements centers: value, texture, form and space.
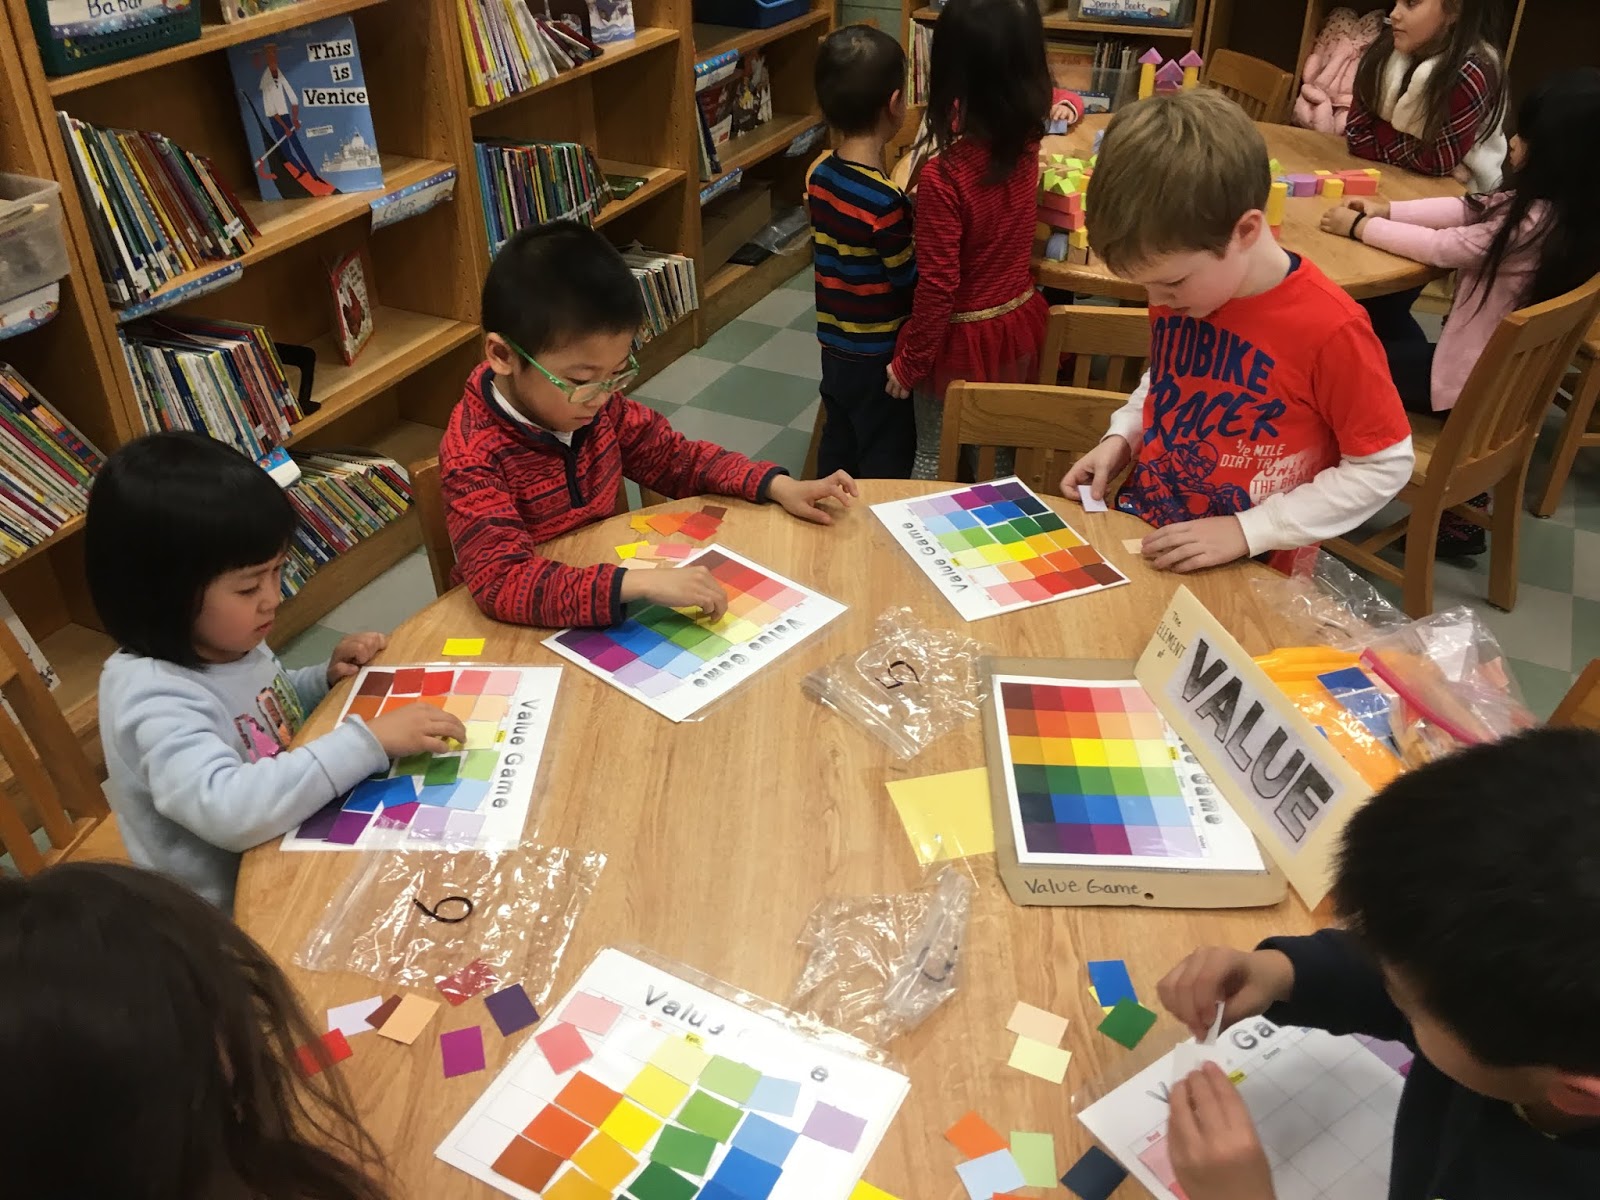
Value: Students learned that the word value in art means whether a color is dark, medium, or light. We looked at a sample of different values of green on a chart in the class. Then students were selected to show how different values of colors can be seen in the clothes we wear. At the value center, students began by selecting a color card and matching different values to the values of the color on the card. Then students played a value game where they placed all colors in order, light to dark, on a game board. Students could choose a game board that gave them a lot of help (where they only needed to match values), a little help (where they matched values of red and violet, but had to place the other colors in value order by themselves), or a game board that allowed them to do it by themselves.
Texture: Students looked at images of objects on a chart and discussed words that could be used to describe how these objects would feel if you could touch them. (A soft, furry kitten, a hard, bumpy rock, etc). When students moved to their table group, they looked at more images that introduced different texture vocabulary.
Texture Vocabulary Sheet
Students worked with a partner to feel objects inside of a texture "grab bag" and describe what they felt. Then students felt different textures on texture rubbing plates. They discovered how a visual texture could be created by placing these texture plates under a piece of paper and coloring on top of them. Students selected a coloring sheet and used the texture plates to create different texture rubbings as they neatly colored in their picture.

Form: Students will learn that a form is a three-dimensional shape. At their table group they will examine form cards and find those forms on their table. Students will look at the form cards to see examples of objects that have those forms. They will discuss other objects that they can think of with those forms.
Form Cards
Students will look at images of how artists use forms to create sculptures. Then students will use foam forms to build sculptures of their own. They may choose to work by themselves, with a partner, or together as an entire table group.

Form Cards
Students will look at images of how artists use forms to create sculptures. Then students will use foam forms to build sculptures of their own. They may choose to work by themselves, with a partner, or together as an entire table group.

Space: Students watched a quick video to illustrate how things look different when they are "near" and "far."
Students learned how artists show the element of space in artworks by making objects "big at the bottom" to show they are close to you and by making them "tiny at the top" to show they are far away from you. They looked at illustrations in Pete the Cat books (Pete the Cat was introduced during the color unit.) to find examples of how the illustrator used the element of space to show whether objects were close or far. Students selected a picture of Pete the Cat to neatly color. (Like the one below)
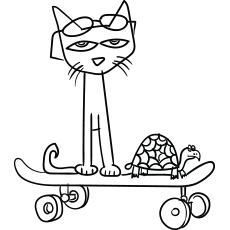
Then students drew their own objects in the background and used the element of space to show whether the objects were close or far away. Students made sure that they used a "horizon line" or "ground line" to make sure objects did not look like they were floating in the sky. Students neatly colored the background objects they drew.
Students learned how artists show the element of space in artworks by making objects "big at the bottom" to show they are close to you and by making them "tiny at the top" to show they are far away from you. They looked at illustrations in Pete the Cat books (Pete the Cat was introduced during the color unit.) to find examples of how the illustrator used the element of space to show whether objects were close or far. Students selected a picture of Pete the Cat to neatly color. (Like the one below)

At Home: You can reinforce what students are learning at home by asking your child each week what they learned in art class. As you travel throughout the neighborhood, ask you child to describe what they see using words that describe different values, textures, forms, and colors. Encourage your child to continue to use all the elements as they make art at home.
Past Units:
Celebrating Art and Literature in March
Dr. Seuss's ABCs.

Kindergarten students who are remaining in art for the spring semester are celebrating the art of Dr. Seuss. Students listened to the book Dr. Seuss ABC. The looked at how Dr. Seuss illustrated funny imaginary animals and people in this book. Each student chose a large letter of the alphabet and began thinking of words that had that beginning sound. For example, if a student chose the letter A, their list might include words like apple, alligator, ant, and ape. Students will choose one or more of their ideas to illustrate inside their letter. Students will add color using marker, crayon, and/or colored pencil. Look below for ways you can support this lesson at home!!
Option 1: Read a Dr. Seuss book and create your own illustration.
Read a Dr. Seuss book at home. If you don't have any at home, you may check out a book at the local library. Create an illustration of your own for this book. Place your name on the back of your drawing. Also write the name of the book you read on the back with your name. Bring the drawing to school on the next day you have art. (K6 - Wednesdays or K1 and K7 - Fridays.)
Wassily Kandinsky Abstract Painting
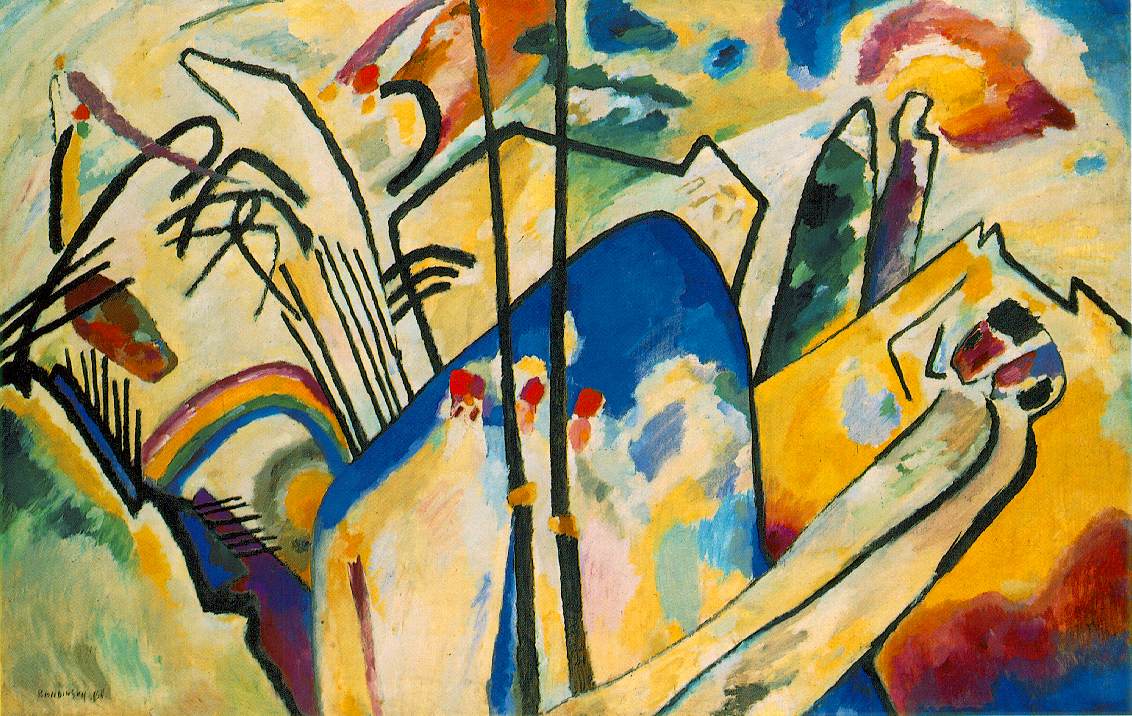
Kindergarten students have started a unit of study focusing on the abstract paintings of Wassily Kandinsky. Students listened to a short story about the life of Kandinsky and looked at several of his abstract paintings. Students described his work using the art elements of line, shape, and color. They learned how Kandinsky was greatly influenced by music when he painted.
Students created their own abstract drawing in class while listening to some of Kandinsky's favorite composers. Students will be continuing to listen to music and will make paintings using tempera paint cakes in the style of Kandinsky.
Choose an option below to complete at home with your young artist. Your student may bring in extra work they create at home in the style of Kandinsky to earn bonus points in art class.
Option 1: Kandinsky Coloring Sheet
Students were given an example of a line painting by Kandinsky in art class along with a letter explaining the project. Discuss what your child has learned about Kandinsky and abstract art in art class. Play some music for your child. It could be classical music like Kandinsky listened to or even popular music from the radio. Have your child use crayons, markers, or colored pencils to add color to the Kandinsky artwork. Encourage them to think about how the music relates to the colors they are choosing. Send the completed Kandinsky drawing to school by your child's next art class and they will earn bonus points for this project.

Option 2: Class Power Point
Click the link below to read more about Kandinsky and view the same artworks we looked at in class. Sit with your child and ask them to describe each painting using line, shape, and color. Ask them which painting they like the best and why they like it. Ask them to draw or paint their own Kandinsky style abstract artwork based on their favorite work from the Power Point. Play some music while the artwork is created.for inspiration. Students may submit drawings or paintings in class to earn bonus points.
Option 3: Geometric Kandinsky
Many of the paintings we looked at in class use mainly line and color. However, sometimes Kandinsky used geometric shapes to create his abstract paintings. Look at the painting below and have your child name the geometric shapes he/she sees. Ask your child to create their own abstract drawing using geometric shapes. The focus should be on using a variety of shapes, not creating recognizable objects. Have your child neatly color their abstract shape drawing using crayon, marker, or colored pencil. Help your young artist color neatly by encouraging him/her to color inside lines, color in one direction, and cover all the white spaces. Drawings may be submitted in class to earn bonus points for this project.

No comments:
Post a Comment